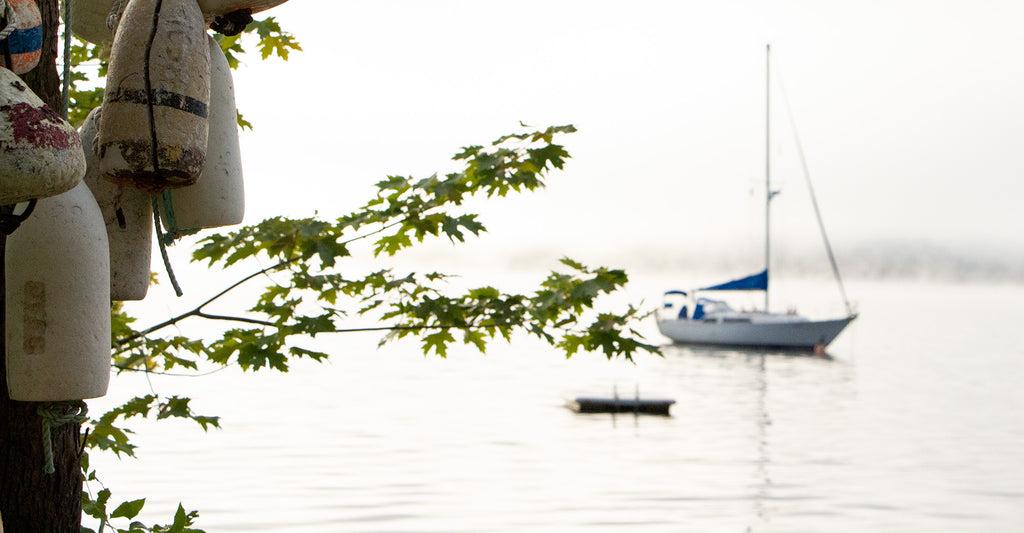

Need a mooring?
We can set you up with everything you need to moor your boat. We have partnered with Mako Diving & Marine Services to offer a one stop solution. Contact us for more information.
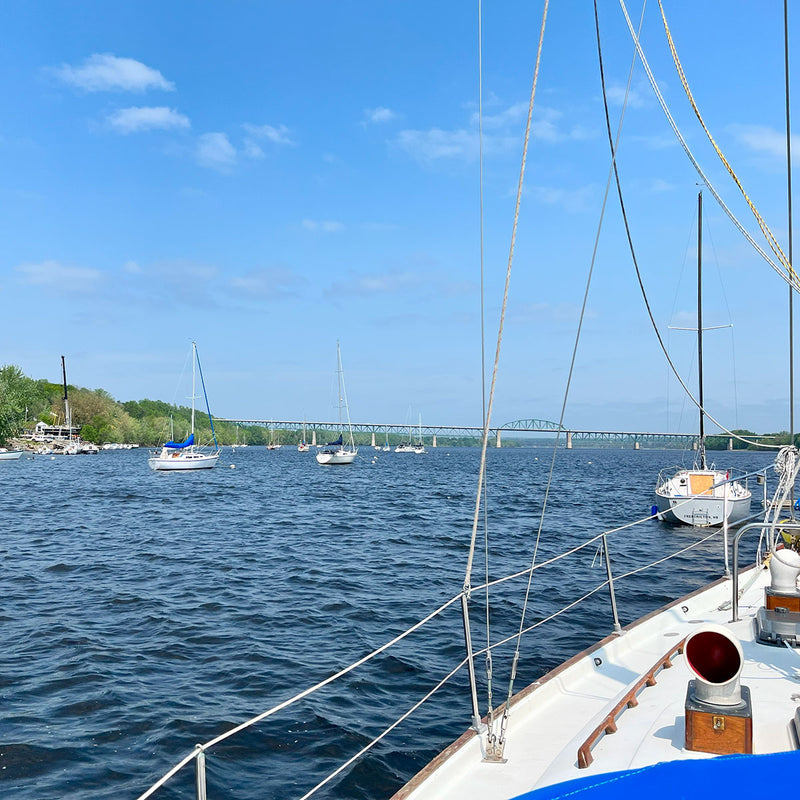
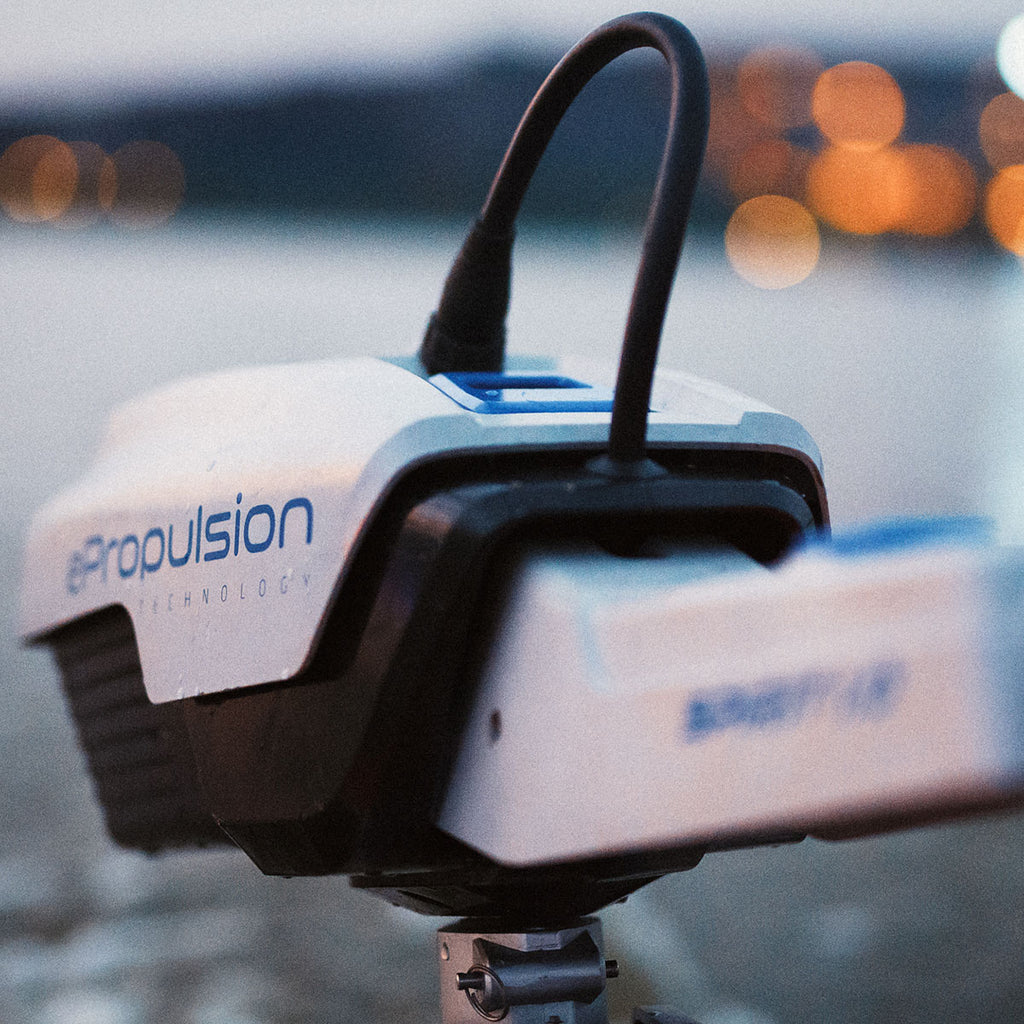
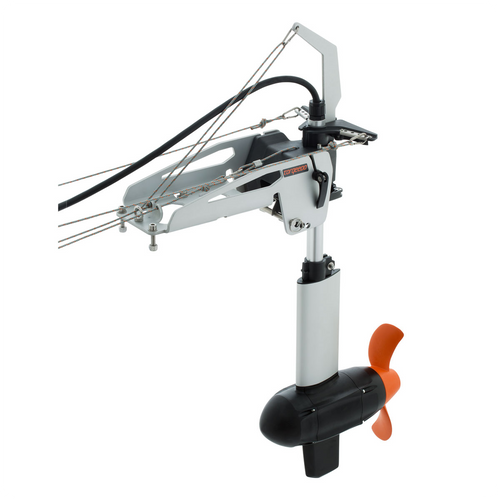
TRAVEL 903
Limited edition.
Unlimited adventure.
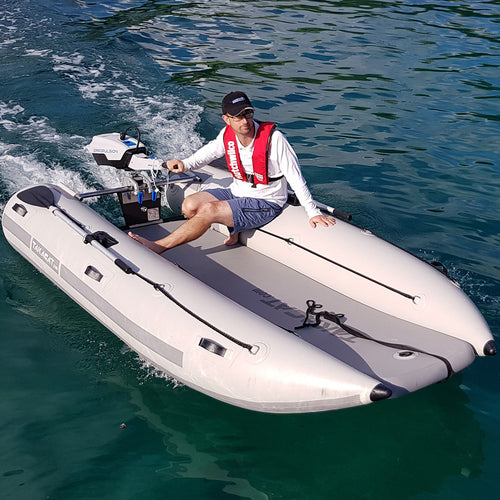
The Travel 903 extends your range at full throttle and ships with our weedless propeller, perfect for powering your small sailboat or exploring lakes and rivers with the family.
Discover the unknown and create unforgettable moments on the water – in complete silence, emission-free and with full respect for our natural and human environments.
Contact us for more information.


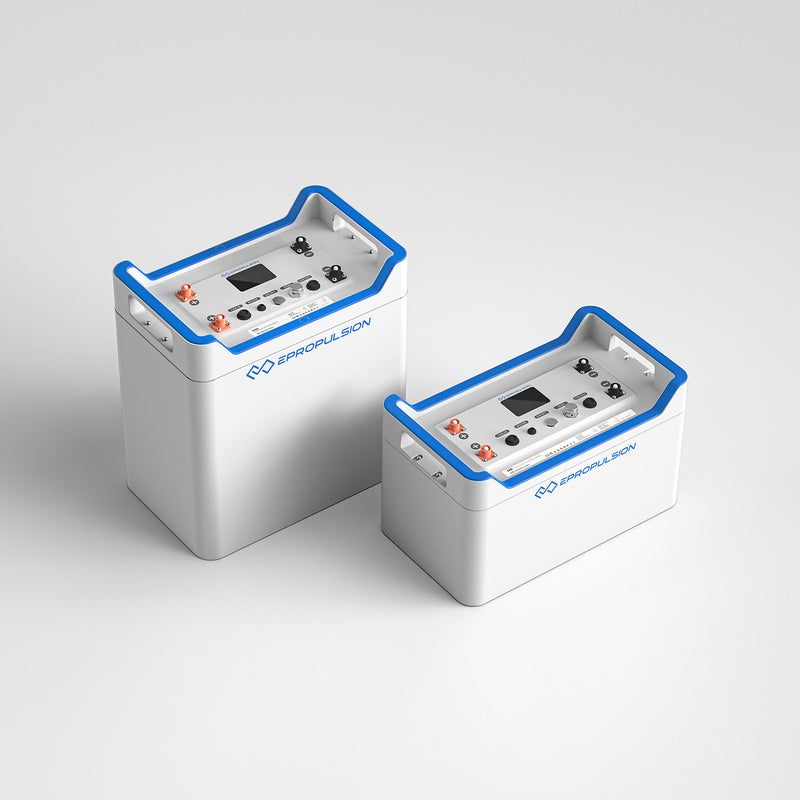
All new E-Series Batteries for 2023
Introducing the all new E60 and E163 LiFePO4 batteries. The all new design allows for easier installs and are lighter than their predecessors.
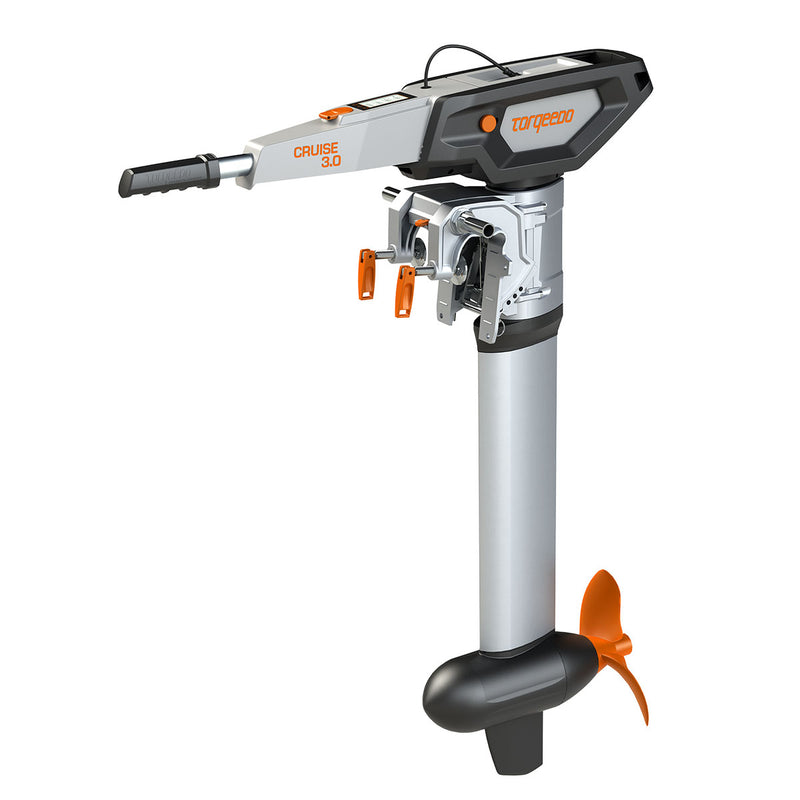
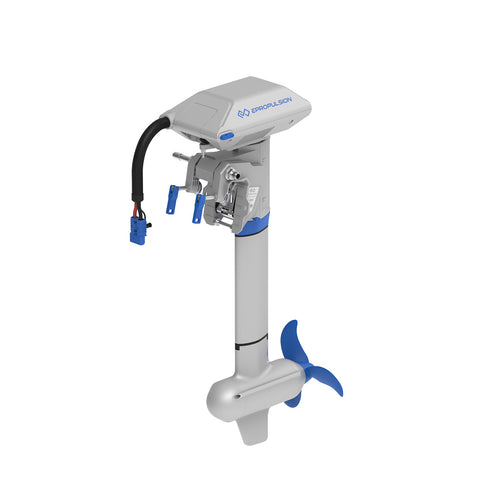
All new Cruise 3.0 & 6.0 series
Newly updated Cruise 3.0 and 6.0 series e-motors now have 50% more power. These new motors include optimized helical gears to provide quiet, lightweight power unrivaled in this market. They are available in tiller or remote throttle versions.

Featured Collections


We love boating and know you do too.
We are based out of the Maritimes, but ship across Canada*
Most Popular


ePropulsion
Spirit 1.0 PLUS
- Regular Price
- $3,975.00 CAD
- Sale Price
- $3,975.00 CAD
- Regular Price
-
- Unit Price
- Translation missing: en.general.accessibility.unit_price_separator

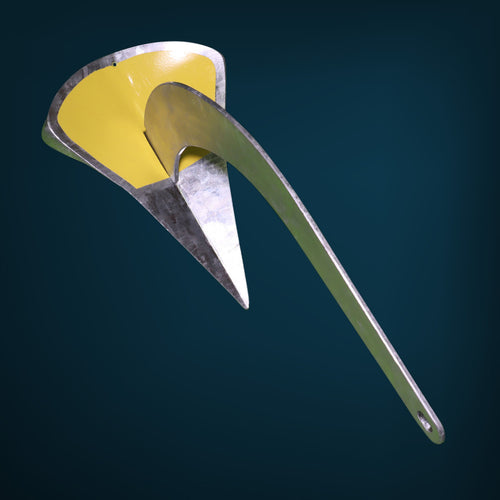
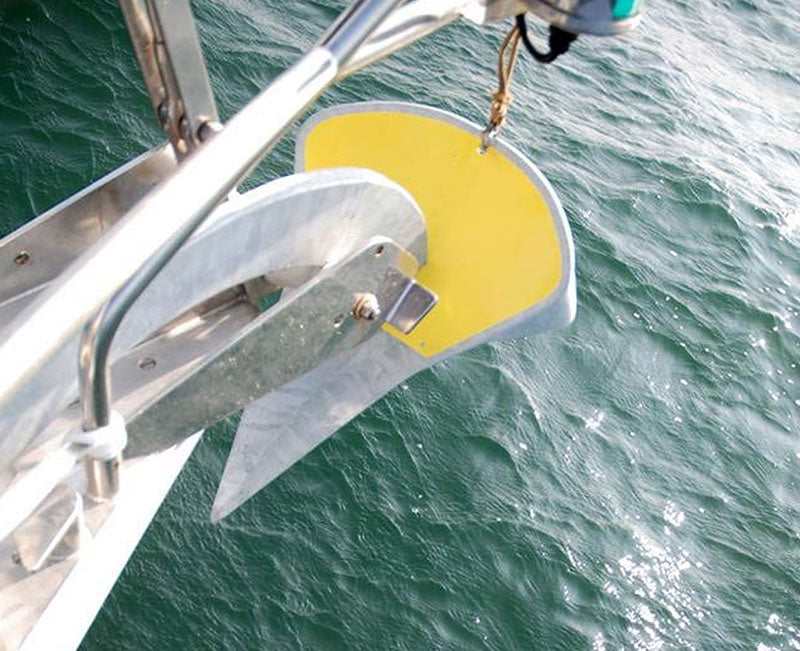
Spade
Spade "S" Steel Anchor
- Regular Price
- from $499.00 CAD
- Sale Price
- from $499.00 CAD
- Regular Price
-
- Unit Price
- Translation missing: en.general.accessibility.unit_price_separator

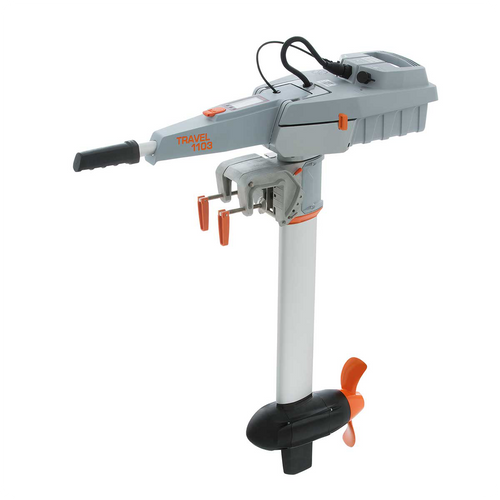
Torqeedo
Travel 1103 C
- Regular Price
- $3,950.00 CAD
- Sale Price
- $3,950.00 CAD
- Regular Price
-
- Unit Price
- Translation missing: en.general.accessibility.unit_price_separator

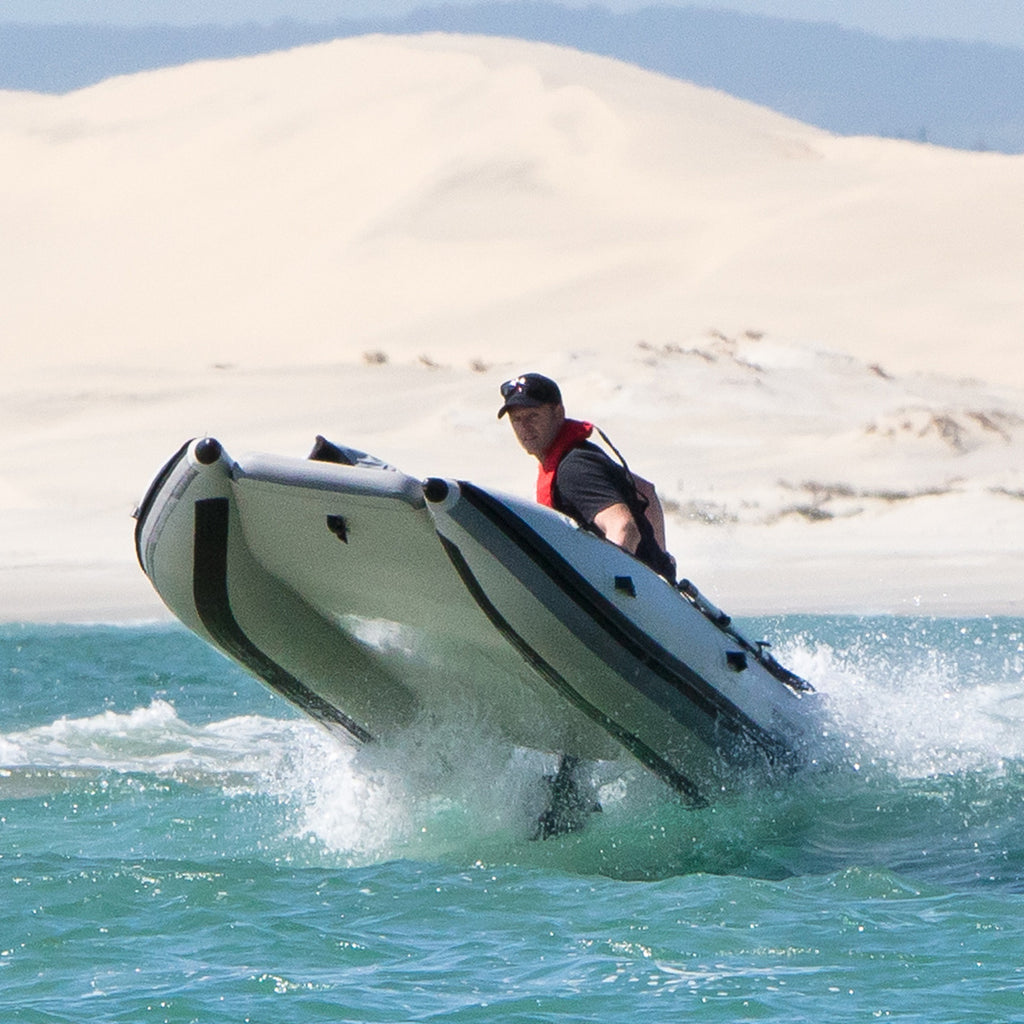
Takacat
T340LX
- Regular Price
- $3,180.00 CAD
- Sale Price
- $3,180.00 CAD
- Regular Price
-
- Unit Price
- Translation missing: en.general.accessibility.unit_price_separator

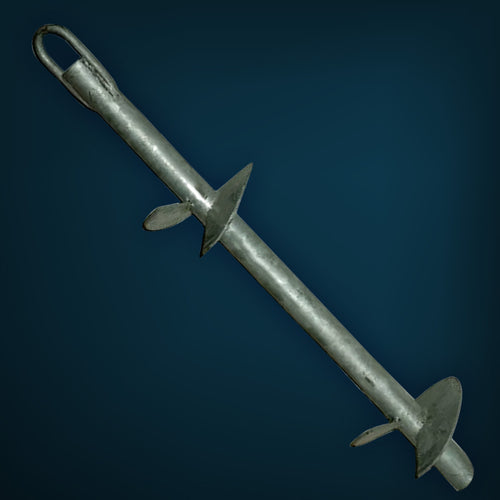
Spade
Skrew Mooring
- Regular Price
- from $185.00 CAD
- Sale Price
- from $185.00 CAD
- Regular Price
-
- Unit Price
- Translation missing: en.general.accessibility.unit_price_separator

Torqeedo
Ultralight 1103 AC
- Regular Price
- $3,885.00 CAD
- Sale Price
- $3,885.00 CAD
- Regular Price
-
- Unit Price
- Translation missing: en.general.accessibility.unit_price_separator
Sold Out

Foldable-RIB
F-RIB 275
- Regular Price
- $4,439.17 CAD
- Sale Price
- $4,439.17 CAD
- Regular Price
-
- Unit Price
- Translation missing: en.general.accessibility.unit_price_separator

ePropulsion
Navy 6.0 Evo
- Regular Price
- $4,599.00 CAD
- Sale Price
- $4,599.00 CAD
- Regular Price
-
- Unit Price
- Translation missing: en.general.accessibility.unit_price_separator
Manufacturers